Crystal

My memories of Christmas span about 6 decades. Getting close to 7! whew! That’s a long time. I remember holidays when both my Grandparents were still alive….

Read more

Show all posts writed by Crystal
Crystal Author

Christmas Memories

Christmas Memories

My memories of Christmas span about 6 decades. Getting close to 7! whew! That’s a long time. I remember holidays when both my Grandparents were still alive. Halloween meant homemade  popcorn balls, and I can still remember the smell of scorching sugar if one or the other forgot to man the stove. There was a lot of love in the house, the two of them dancing around the kitchen or my Grandmother bent double with laughter at something my Gramps said or did. Caramel apples were a special treat and watching my Grams at the stove, wearing one of her numerous aprons, stirring the caramel, laughing at something my Gramps said, still lingers today, many years after they passed. Thanksgiving and Christmas always came with my Grams bent over, pulling the pan  that held the turkey out of the oven, steam rising like a cloud all around her head, the kitchen passing for a native american sweat lodge.

Christmas meant no school or homework, sledding, and snow forts (and the required snowball battles to protect our forts),  singing and dancing, family dinners and gaily wrapped presents under a huge tree.  It was cold snowy mornings with big breakfasts, it was homemade pies and brownies, hot chocolate and late night movies. There were trips to Ebys Pines where we all trooped to pick out just the right tree. My Grams like the shorter fat ones so there would be plenty of space for her ornaments. I remember paper chains, popcorn garland and homemade cookies, my Grandfather practically passing out from the effort to blow up the huge snowman to adorn the front yard, and all of us kids laughing at the faces he made.

I was just about 13 when my Grandfather died unexpectedly. It changed our lives as most deaths in a family do. Traditions fell by the wayside, too painful to continue and new ones slowly took their place.  By that time, my Mom and Stepdad and my siblings were living “in town.”  I stayed with my Grams and she and I continued to decorate every year. There were still family dinners with all the Aunts, Uncles and siblings and over time those new traditions became the norm. As the years went by, I married, had a son, divorced, and after her death, I continued the traditions my Grams and I had carved out over the years. Traditions and memories for my son to enjoy and pass on to his children.


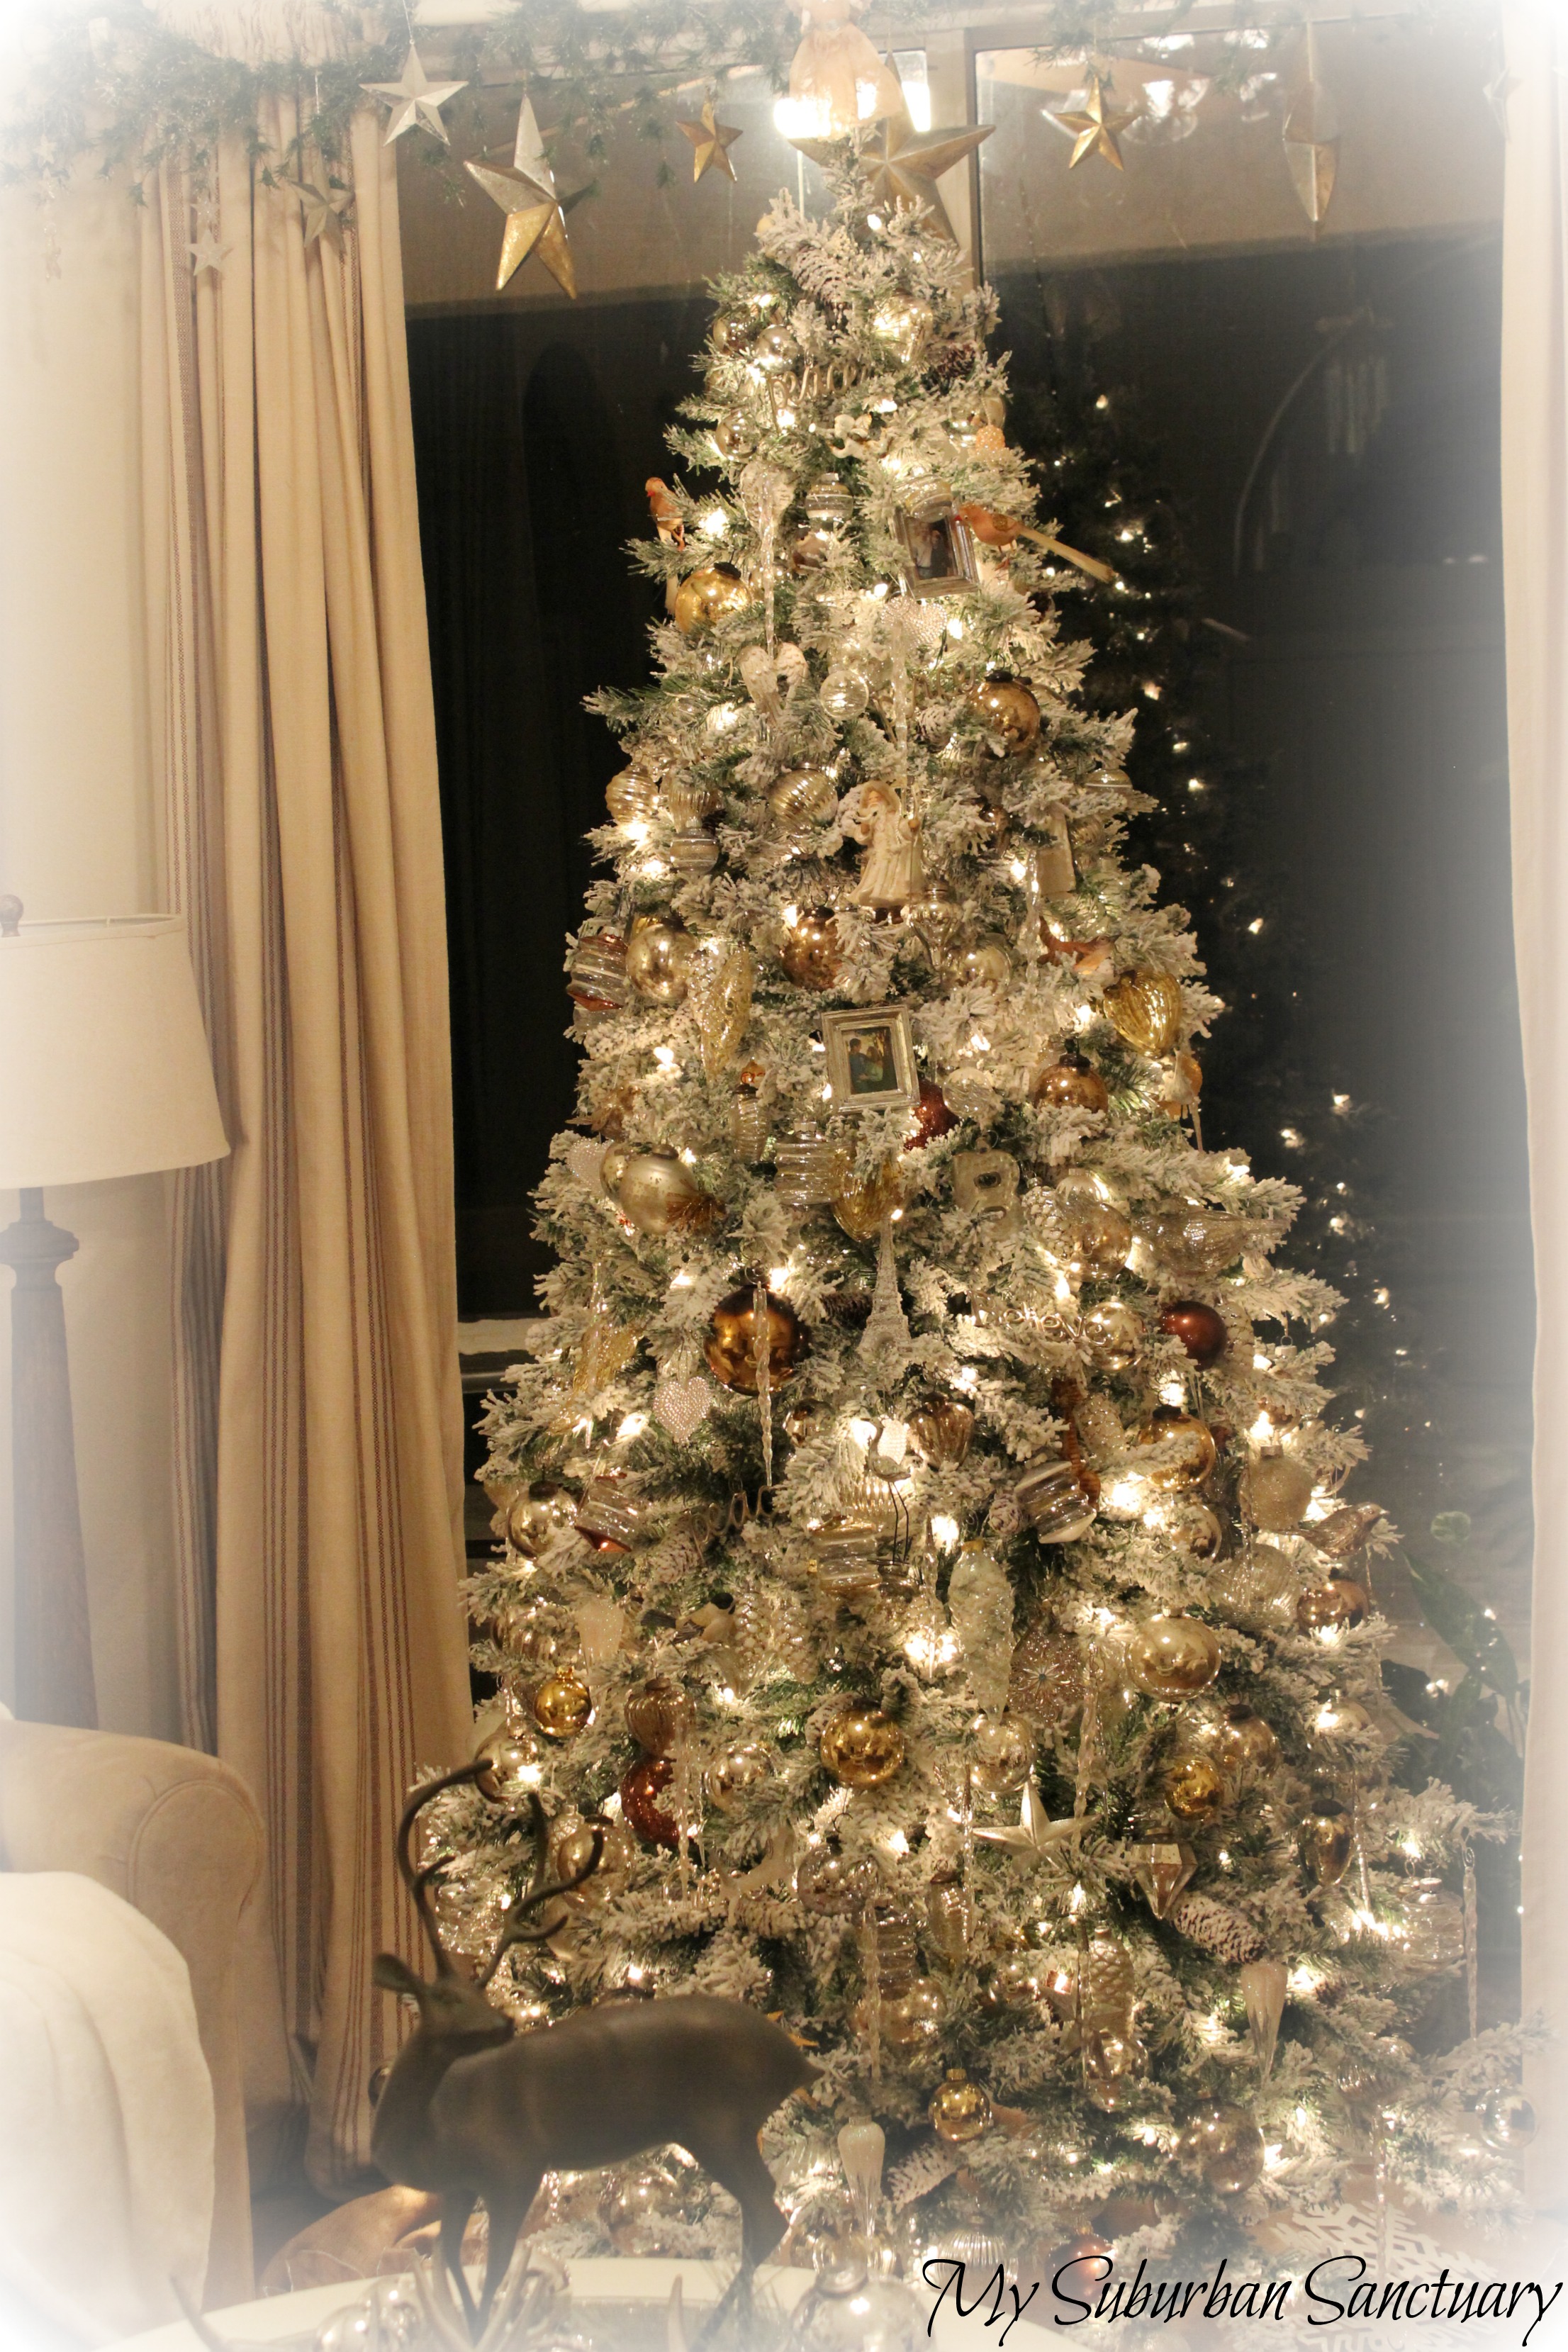
My favorite Christmas ornie, that little plastic santa, takes center stage on this year’s Starry Night tree.


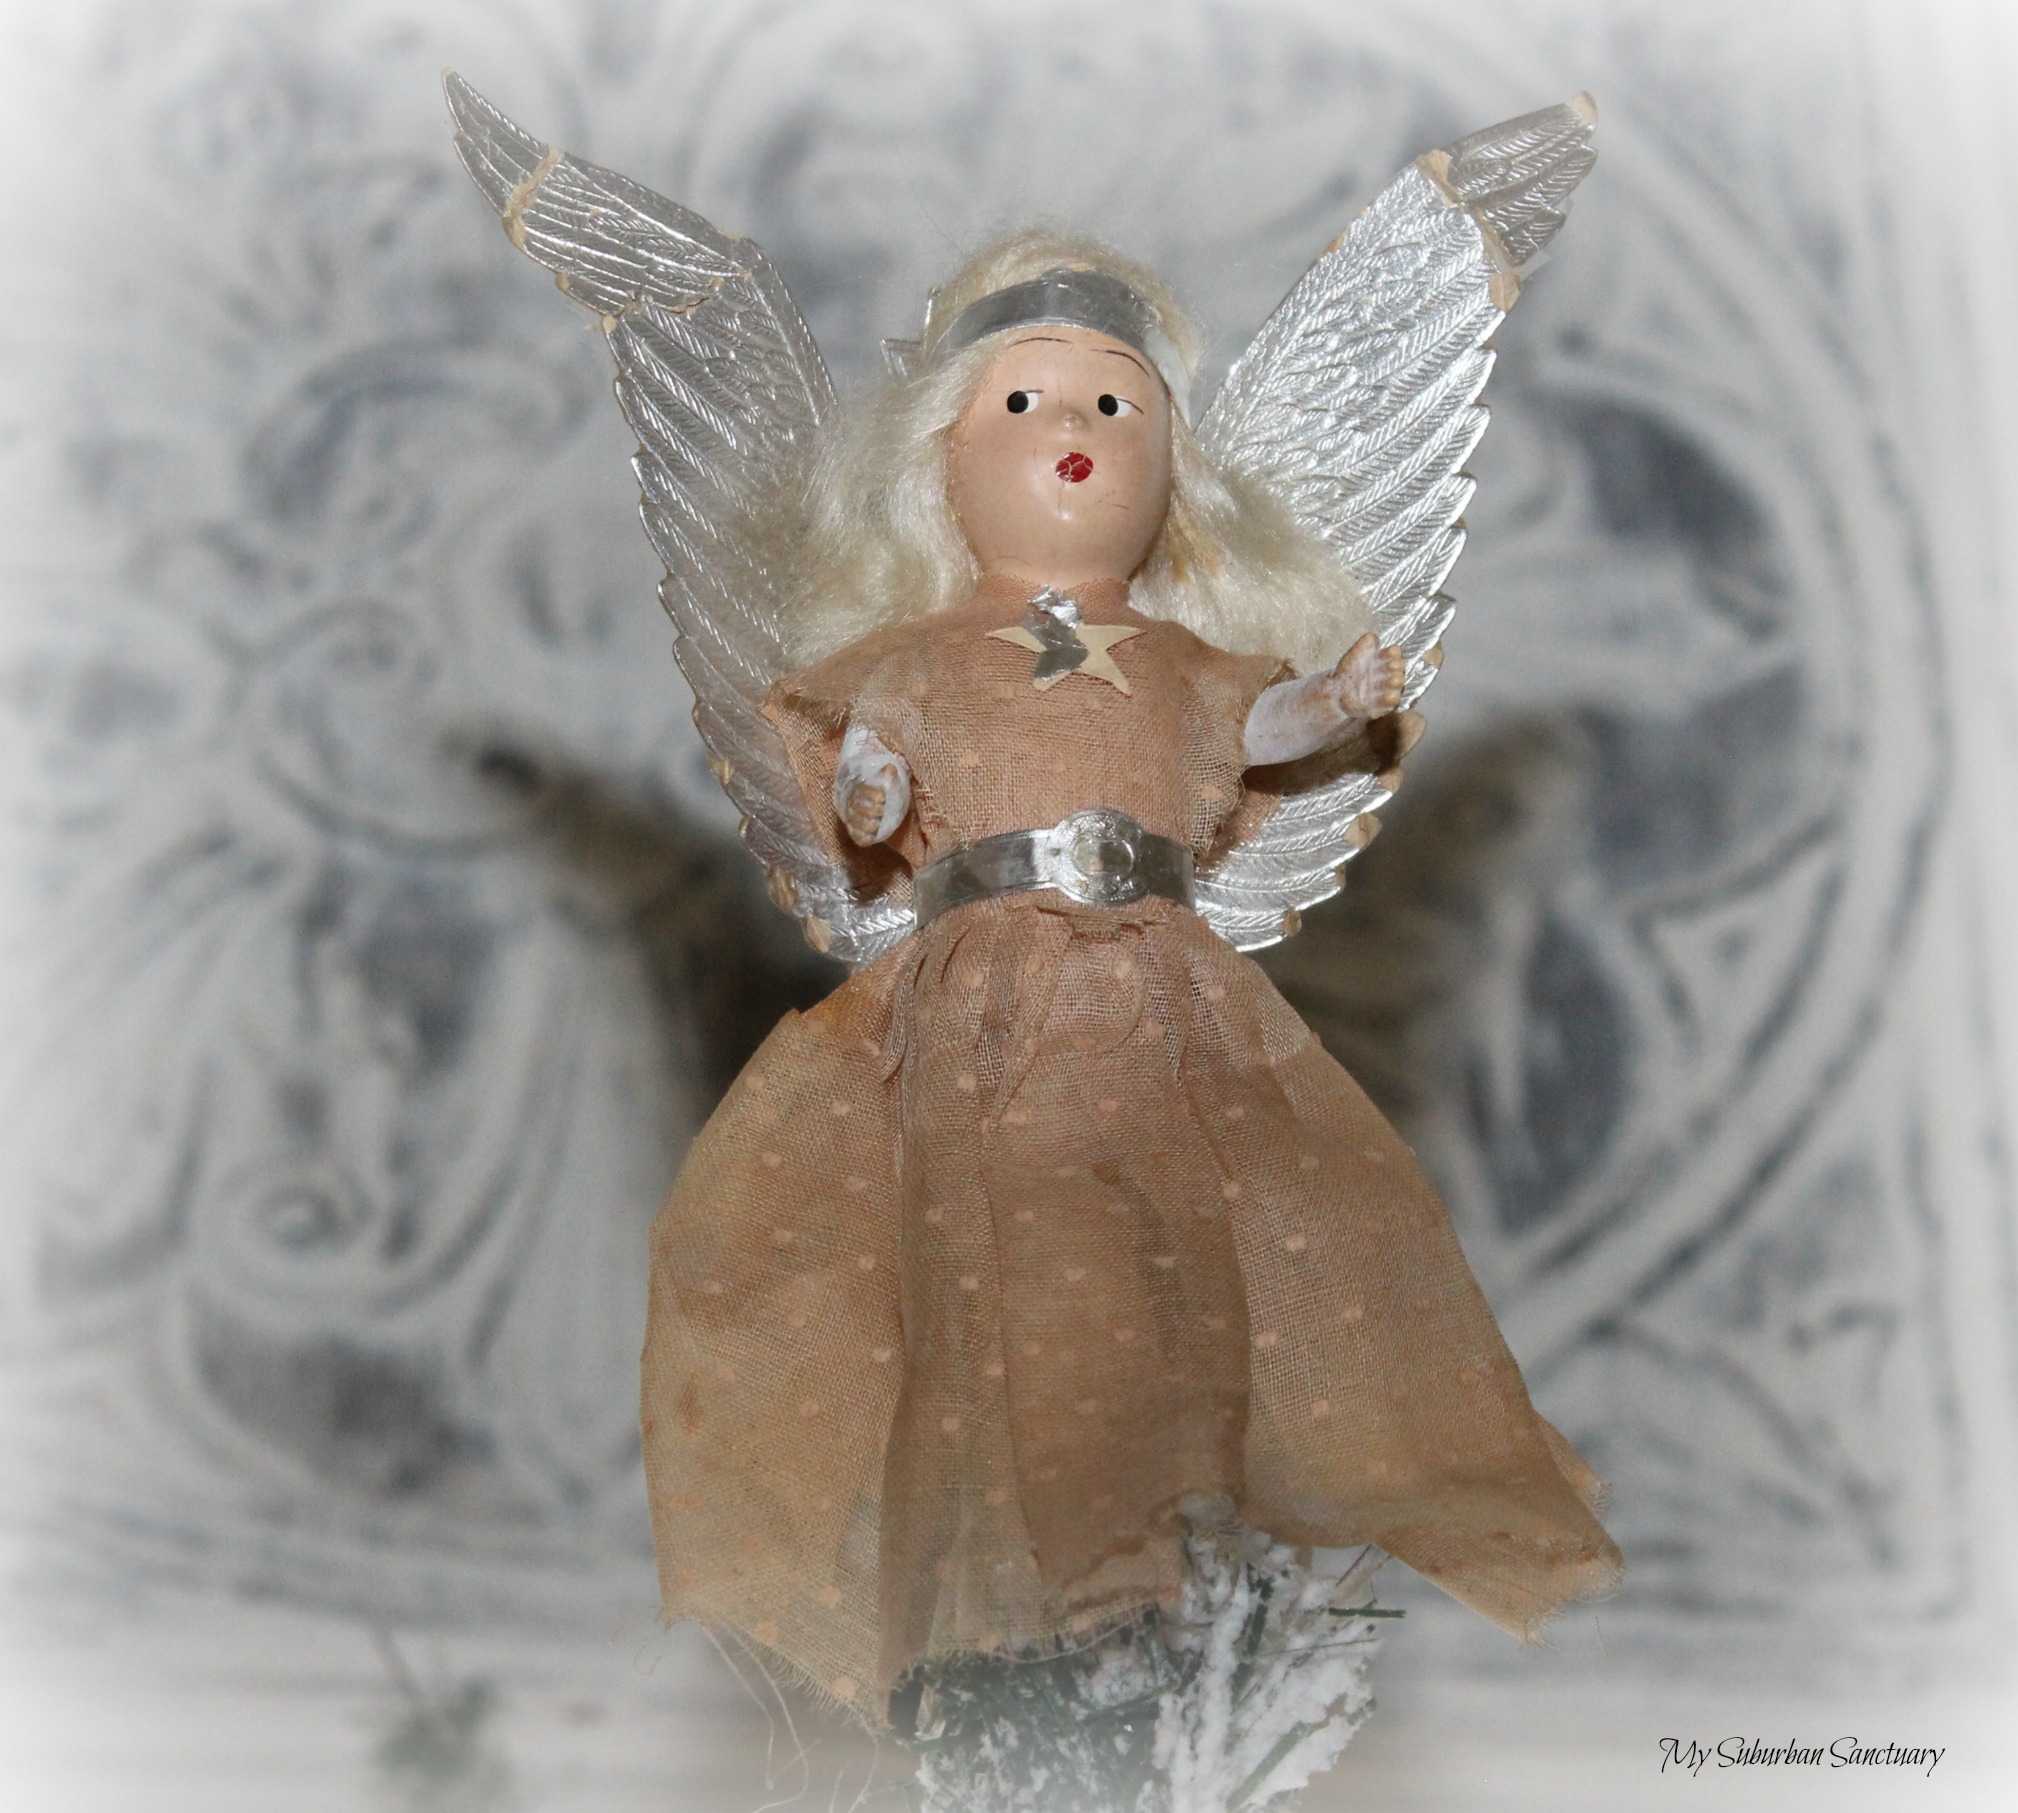
I can’t remember a Christmas without a little plastic Santa, he was my favorite ornament as a girl and he is one of my favorites now. He’s hung on every tree, even on my ficus trees during the lean years. My Grandmother’s angel still adorns the top of my tree, just as it did hers. Or it did until I convinced her to get a new tree topper, a hideous plastic minaret that was filled in the middle with angel hair. Did I mention it was hideous? Sigh. As a teenager I thought it was beautiful. But what did I know? I’m the girl who talked my Grams into getting rid of her beautiful antiques so that we could go modern, as in Danish Modern. Oh, the heartburn I suffer over that! I clearly had no clue back then. My lack of family heirlooms is because of me. ME! arrgh. The pain.


The plastic snowman


The little elf sitting on the pillow came a long time before “the elf on the shelf” and the box of ornament hooks I now use as an ornament are surrounded by bottle brush trees on my childhood toy box in my office.

My Grandmother, a wise woman, put some things away in her cedar chest for safekeeping from my modern loving eyeballs. I’m ever grateful to her. Because of her foresight I still have not only her angel, but also her little plastic snowman that still lights up, her bird ornaments and two angel ornaments I updated with new paint. If she could only know how much I treasure those timeworn pieces now…….and that I am the “Memory Keeper” in the family. I wear that title proudly. I guard those few things I have ferociously and will pass on my title to one of my grandchildren when the time comes.

One of the now shabby birds and an angel head still grace my tree each year as they did while I was growing up.

No Christmas is complete without those ornaments and the few vintage holiday things I still have. The snowman, the angels, the little plastic santa. The trio of santa elves who now grace Mr B’s bathroom, where they hold special golf balls instead of  christmas ornaments. The little elf who sits on a pillow, even the unopened package of ornament hooks, still wearing the 2/25¢ price, the box now an ornament in its own right. These things keep the memories of my parents and grandparents alive. The memory of my son is still fresh with special ornaments that he loved. No matter what style my home is, whether it’s “Modern Farmhouse” or “Danish Modern” those memories will always be front and center.  Old things and old memories never go out of style. 

Save

Save

Save

How To Decorate Your Christmas Tree

How To Decorate Your Christmas Tree

Why do you need a lesson in decorating your tree? You’ve been doing it for years, right?  Just put it in the stand, wrap some lights around it and hang some ornies. And Bingo! Done. Not so fast my little helper elves. There are a few things to consider. For the sake of this post I’m dealing only with the faux tree, there are other considerations for live ones but I’ll save that post for another time.  If you’ve already done your tree like the majority of can’t-wait-to-put-up-my-tree people,  then just file this away for next year.

When you take your tree out of the box, it’s smushed (technical term) to fit. Take it out and put the bottom section in the base and secure it, if it’s a pre-lit tree, check the lights on this section before proceeding. You don’t want to get your tree all together and find that one section of lights doesn’t work. It’s aggravating. Trust me on this. FLUFF this section (another technical term) and insert the next section(s) in the same manner, checking each section of lights and fluffing a bit as you go. The fluffing step is the most important! (After lights, lights are really the most important, but fluffing is second on the important list.)  You want a full looking tree, not one that looks like it survived a tornado. You’ll need to give your final fluff after you’ve put your tree together and checked all the lights. Tree branches are forgiving so bend them and manipulate until your tree looks like it’s all one glorious full product of nature.

If your tree isn’t pre-lit, add your lights. There are many methods of “doing lights”. None are wrong, whatever works. But I’ve found that starting at the bottom of the tree and working up is the easiest for me. Count on using a minimum of 100 lights per linear foot of tree. (Example: a 7 foot tree would require a minimum of 700 lights.) I like to use more because….well, I love lights. If your lights are worn out with lots of burned out bulbs this may be the time to upgrade to LEDs.  Just as bright but don’t use as much energy and don’t get hot. Don’t throw your old lights away. There are a number of recycling options. Google “Recycling old Christmas lights” for sites and shipping instructions. If your tree comes in sections, it may be easier to do your lights a section at a time, right after the fluffing. String your lights by wrapping each branch and tucking your lights into the greenery before moving on to the next branch. The object is to hide the wires so that your tree looks like it was born with lights. You know, “natural.” Place lights the length of the branch all the way to the trunk so that you give the appearance of lights coming from within the branches. Do a final light check and fluff. This is the most tedious part for me.  I want to get on with the decorations! But nothing destroys the look of a  beautifully decorated tree quicker than visible, dangling wires. So take your time and get it right.

Once your lights are on, add your topper. What? Isn’t the topper supposed to be done last? Perhaps by raising your little darling up high enough to adorn your creation with the crowning glory? I’ve had the pleasure of watching a 10 foot tree laden with ornaments fall over by leaving the topper until last. Lesson learned. Add any smaller ornaments to this area now as well. You can thank me later. Taller trees, especially slim ones can be a bit prone to wobbling, particularly if the “front” of the tree is laden with ornaments and the side that’s in the corner has none (why waste the beauty of ornaments hanging them on a section that’s never seen?) My tree sits in front of a sliding glass door so I have to put ornaments on so that it’s purdy from the “back side” too.  It still wobbles and I find I hold my breath when people come to admire it and want to touch it.  My Christmas nightmare isn’t of Christmas past. Nope. It’s of that tree falling over and crashing on top of a dear friend. Who will be picking mercury glass out of her hair for years.

Place your largest heavy ornaments at the bottom, towards the trunk where the branches are sturdier. Reach into the middle of the tree and hang ornaments close to the trunk the entire height of the tree. This will also help with giving the tree a full look and help disguise the inevitable spaces in the interior. No matter how good you are at fluffing, you’ll end up with empty spaces. Large ornaments make these look like part of your design. Clever, no? Work your way out on each branch, adding ornaments as you go, ending with the smallest lightest ornaments at the tips. I like putting more than one ornie on each branch.  EACH branch. It gives dimension to the tree. Don’t be one of those people who throw a dozen ornaments on and call it a day. Those people have no respect for the beauty that is a Christmas tree. I pity those people. Don’t be one of those people. Buy more ornaments.

If you have a set of ornaments with only three or four to the set, place these in a triangle so that it appears you have more than just three. Two lower, spaced apart, one higher and in the “middle.” This tricks the eye in to believing there are more ornies. Do this with every small set of ornaments you have. Don’t be afraid to overlap ornaments. Hang smaller ornaments on the same branch in front of a larger one.


Step back frequently during this phase so that you distribute your ornaments equally. Add any florals at this point, or feathers. These can be tucked in and help disguise the fact that there aren’t a lot of ornaments on a tree. It’s a good trick to use if you like to change the color of your ornies every year and don’t have many, or if you are just starting out. (And an old window designer trick of the trade.) I’m a garland  goes on last woman, so after you’ve placed your ornaments add your garland. If you’re into ribbon, there are two schools of thought. One is to add the ribbon after the lights. The current ribbon craze is to go vertically with ribbon, starting at the crown of the tree, tucking it into branches as you make your way to the bottom. Then add ornies and floral picks, feathers, etc whatever you’re using to adorn your tree. The second method is to put your ribbon on after the ornaments. You can also add your ribbon the garland way, just wrapping it around the tree. If going vertical, plan on purchasing about triple the amount of ribbon you think you’ll need, each length of ribbon should extend from the top to the bottom of the tree. That’s it, you’re done. And look at your wonderous, glorious tree. There is no prettier tree in all the land. Except mine. Mine is the prettiest.

Save

Save

Save

Save

The Best Ornament Hooks

The Best Ornament Hooks

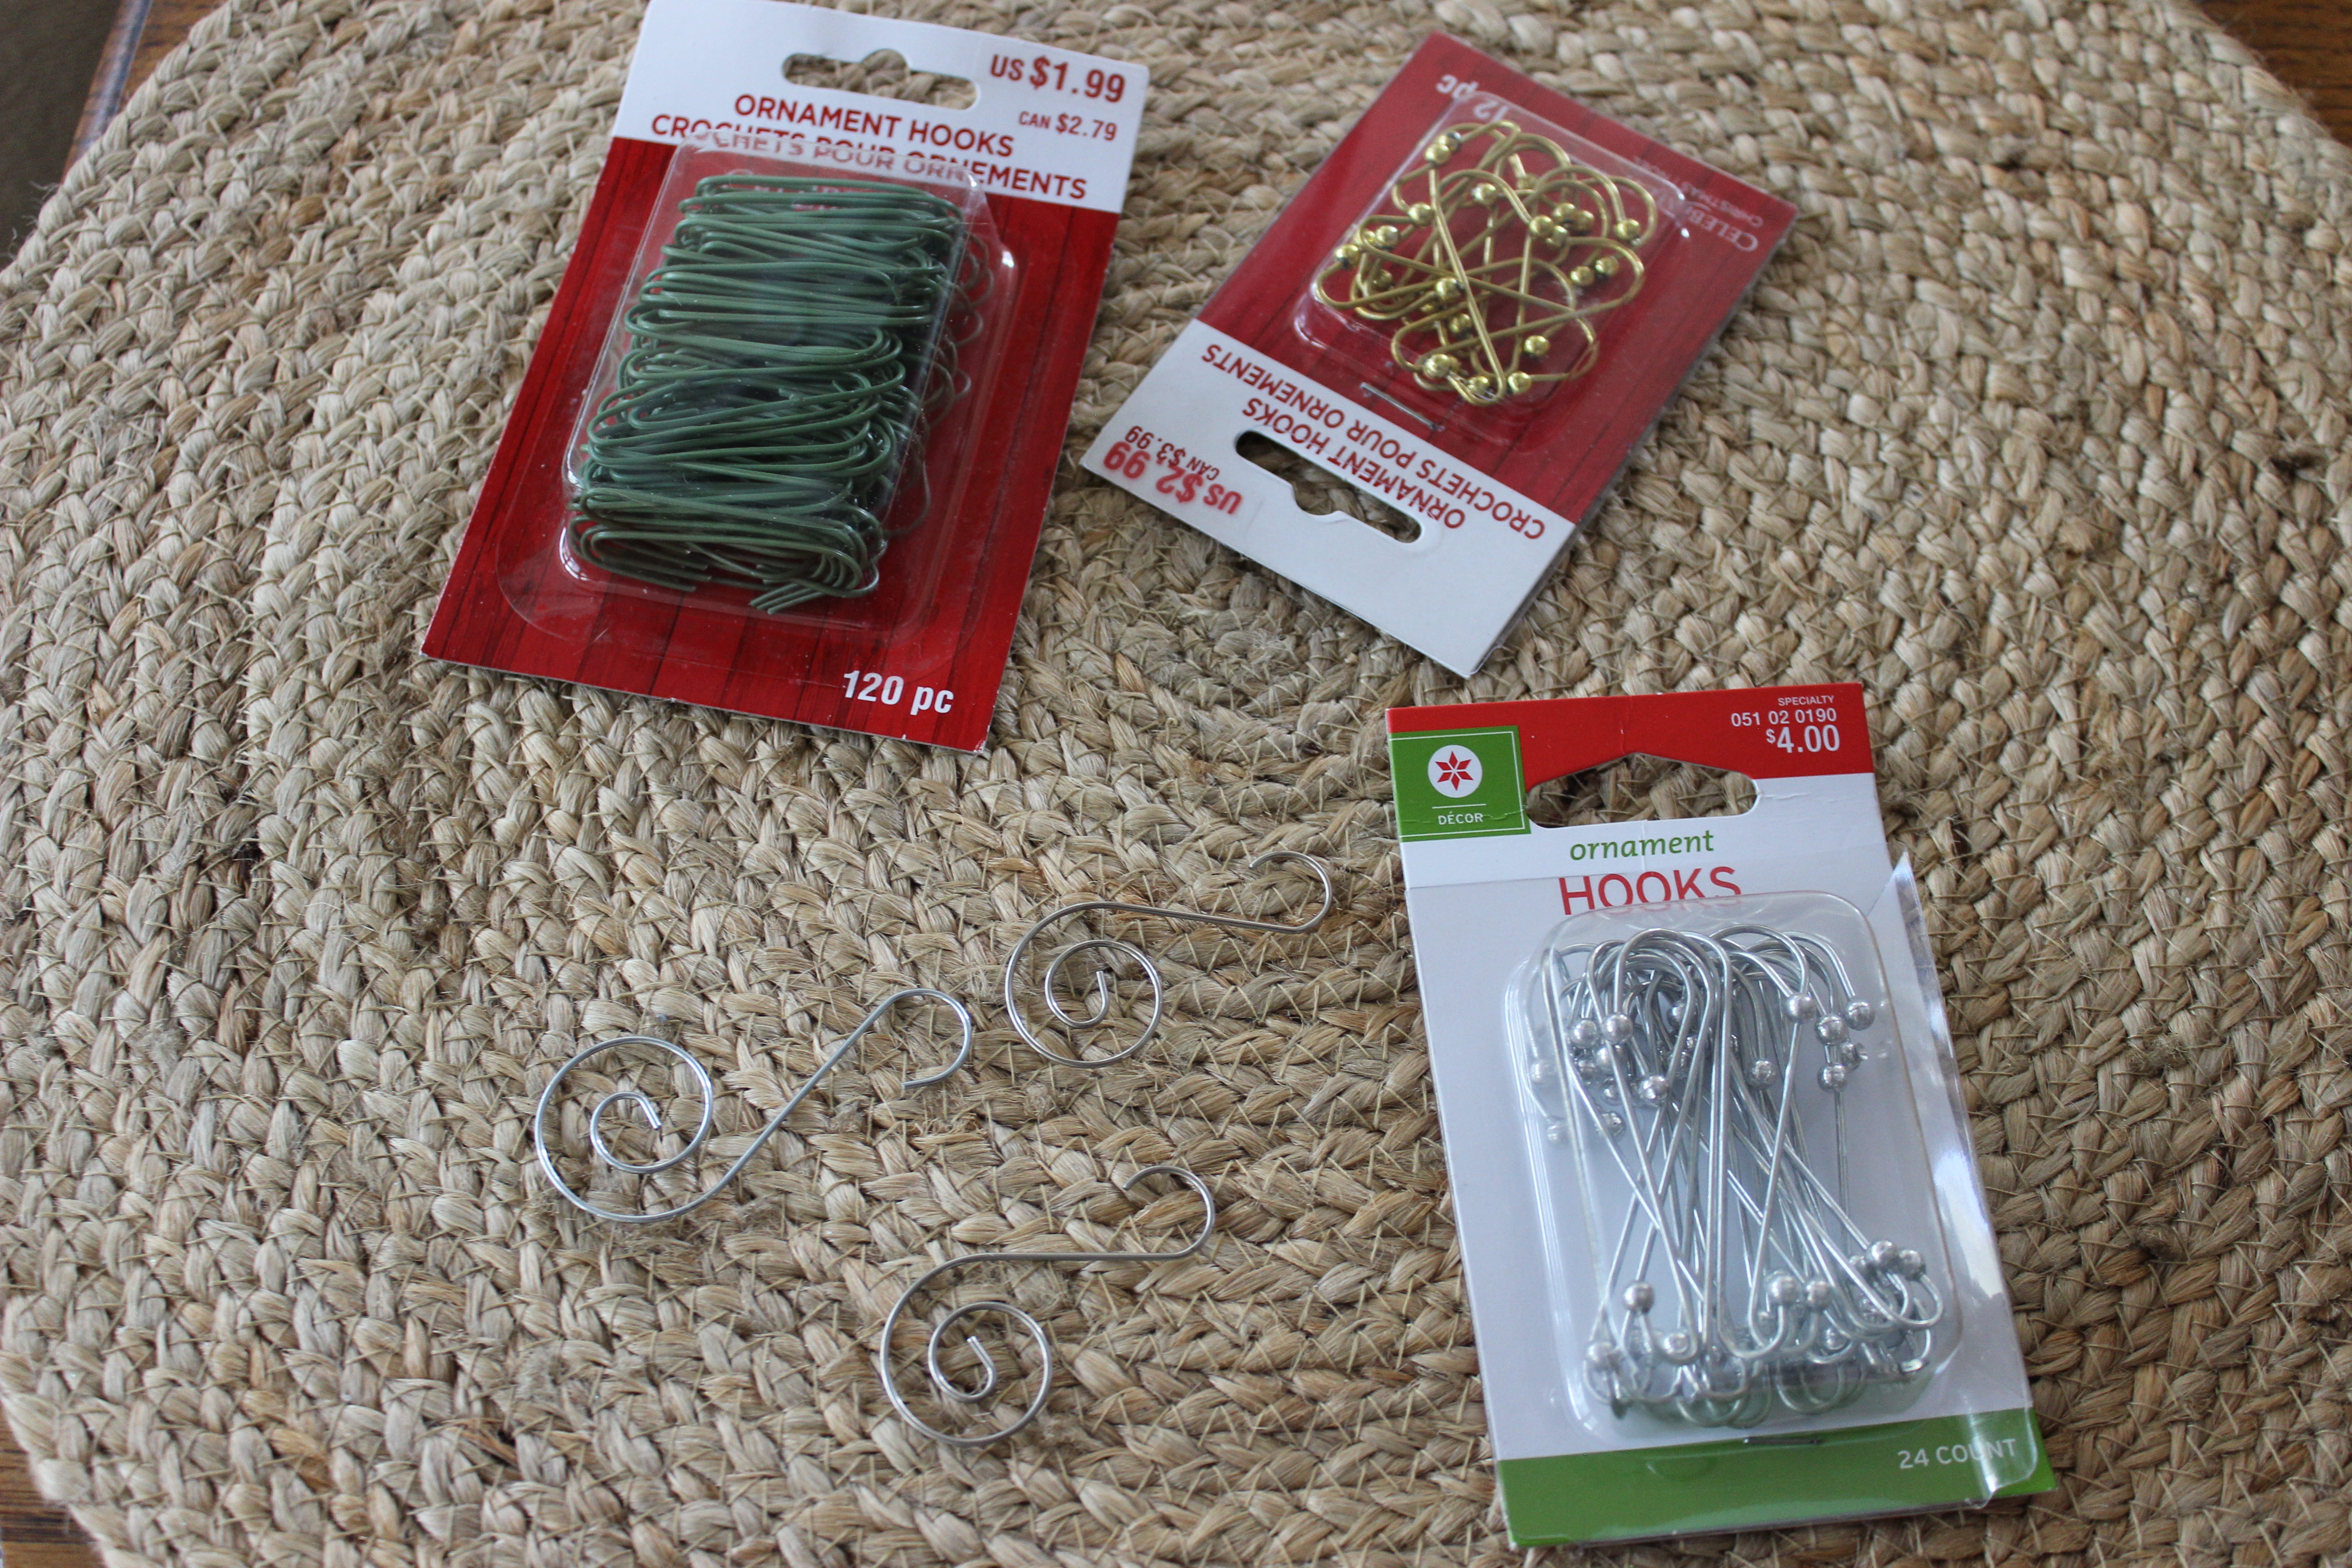
If you are like me you hate the flimsy ornament hooks we’ve all used for years. I’ve collected ornaments for many years and I almost cry when one falls to the floor and shatters in a million pieces when the hook fails. Plus I’m not a big fan of sweeping up tiny shards of glass. I’m always afraid I’ll miss some and one of the dogs will end up with cut tootsies. So I was filled with joy (yes, I’m easily wowed) when I found a new style hook a couple years ago. They’re decorative and sturdy and hold ornaments securely. Bonus….They hold heavier ornaments without a problem. I like that they add some detail to the tree. They are longer than regular hooks however, so bear that in mind when placing ornies on your tree. Plan to go up one branch so the ornament actually ends up where you want it.

img_6377
The new design is not only decorative, it’s secure as well

I also use twine to tie any especially fragile or vintage heirlooms on the tree. Green twine for natural trees and either silver or white twist ties or sheer white ribbon for flocked trees. Hide the ends within the tree’s branches. The new hooks have a spiral end, and once on the ornies won’t come off the hook, just make sure the hook end is securely on your branch. I found a different design last year and like these as well, especially for heavier ornaments. These are also longer, and have bulbous ends so that ornies won’t slip off. I found both brass and silver at Target. Both hook designs are also available on Amazon. (What isn’t available on Amazon?) So get the new hooks and feel secure in the knowledge your ornies are safe and your tree has some hook pizazz. And who doesn’t love pizazz?

img_6382
Bulbous ends mean ornaments won’t fall off

Save

Save

Save

Save

Save

The Easy Project That Could Have Been

The Easy Project That Could Have Been


I have brainstorms. In the middle of the night. Like my eyes pop open with “omg! I could totally______!!! Fill in that blank with an idea. This particular brainstorm involved greenery. And flocking. For a few years now I’ve wanted to add flocked greenery to my Christmas decor, like about a million other people. Flocking is back, in a big way. But I have boxes and boxes of greenery. Lovely fake, totally green, plastic greenery. Some of it has been with me since my wedding 21 years ago. Did I mention it’s fake and plastic? It doesn’t die. It does shed a bit however. I’m thinking 21 years for fake greenery is the equivalent of 100 in human years. And I’m betting if I live to be 100 I’ll be shedding a bit too.  But on with my brainstorm. As you’ve figured out by now, I’m cheap, I’ve mentioned in a few times. Why should I spring for new, lovely flocked greens if I can upcycle some of my current pieces? Hence, the brainstorm. I’ve tried the canned spray snow. Ick. I’ve also tried paint, just dipping my brush in white paint, wiping most of it off and dabbing the greenery. Uh, nope. Didn’t like it. Soooo, the brainstorm.  Drywall mud!!!! Tada!! That’s it! It comes in a spray! It’s white, it’s kinda thick and it clumps! Oh boy, couldn’t wait til morning to give it a try.

Morning comes and I’m in the garage, covering the floor with sheets and draping my old garland over my work table. I had a can of spray drywall mud for patching and matching the texture on our walls so this was gonna be a cheap and easy project. My absolute favorite kind.  I practiced my spray technique on a piece of cardboard and was good to go. Just to be safe, I sprayed a small piece of greenery first. Just a dusting. It looked Great!!! So I proceeded as planned with the garland. It looked so good. Happy dance! I left it in the garage for a few hours to dry. And then the decorating began. Now this garland is very important to me. Each year I drape the living room sliding door and the dining room window with garland and hang stars and snowflakes from it. Dressing those windows for Christmas is my favorite thing to do and I look forward to it. It signals the start of the holiday season at my house. I wanted that garland lightly flocked so it would look better with the flocked tree I  purchased last year.

img_6325
THE 21 YEAR OLD GARLAND IN ITS ORIGINAL CONDITION, MINUS A FEW SPRIGS HERE AND THERE


img_6337
AFTER ITS DUSTING WITH DRYWALL PATCHING SPRAY

Let me tell you, I draped and then began to cough and sneeze and my eyes were burning from all the drywall dust! The mud didn’t stick!!! WHAT??!! That stuff sticks to everything! Nope, apparently not fake christmas greenery. By the time I got the garland draped around the curtain rod most of the mud was on the floor. And in my hair. And nose. And on the sofa. And Oscar’s black coat was now gray. EPIC FAIL!! I spent a couple of hours sweeping, dusting (saying bad words, many bad words), and mopping and then very carefully hung my stars and called it a day. I’m leaving it as is until after the holidays. There are a few specks of drywall mud left on it for the holiday effect. uh huh.

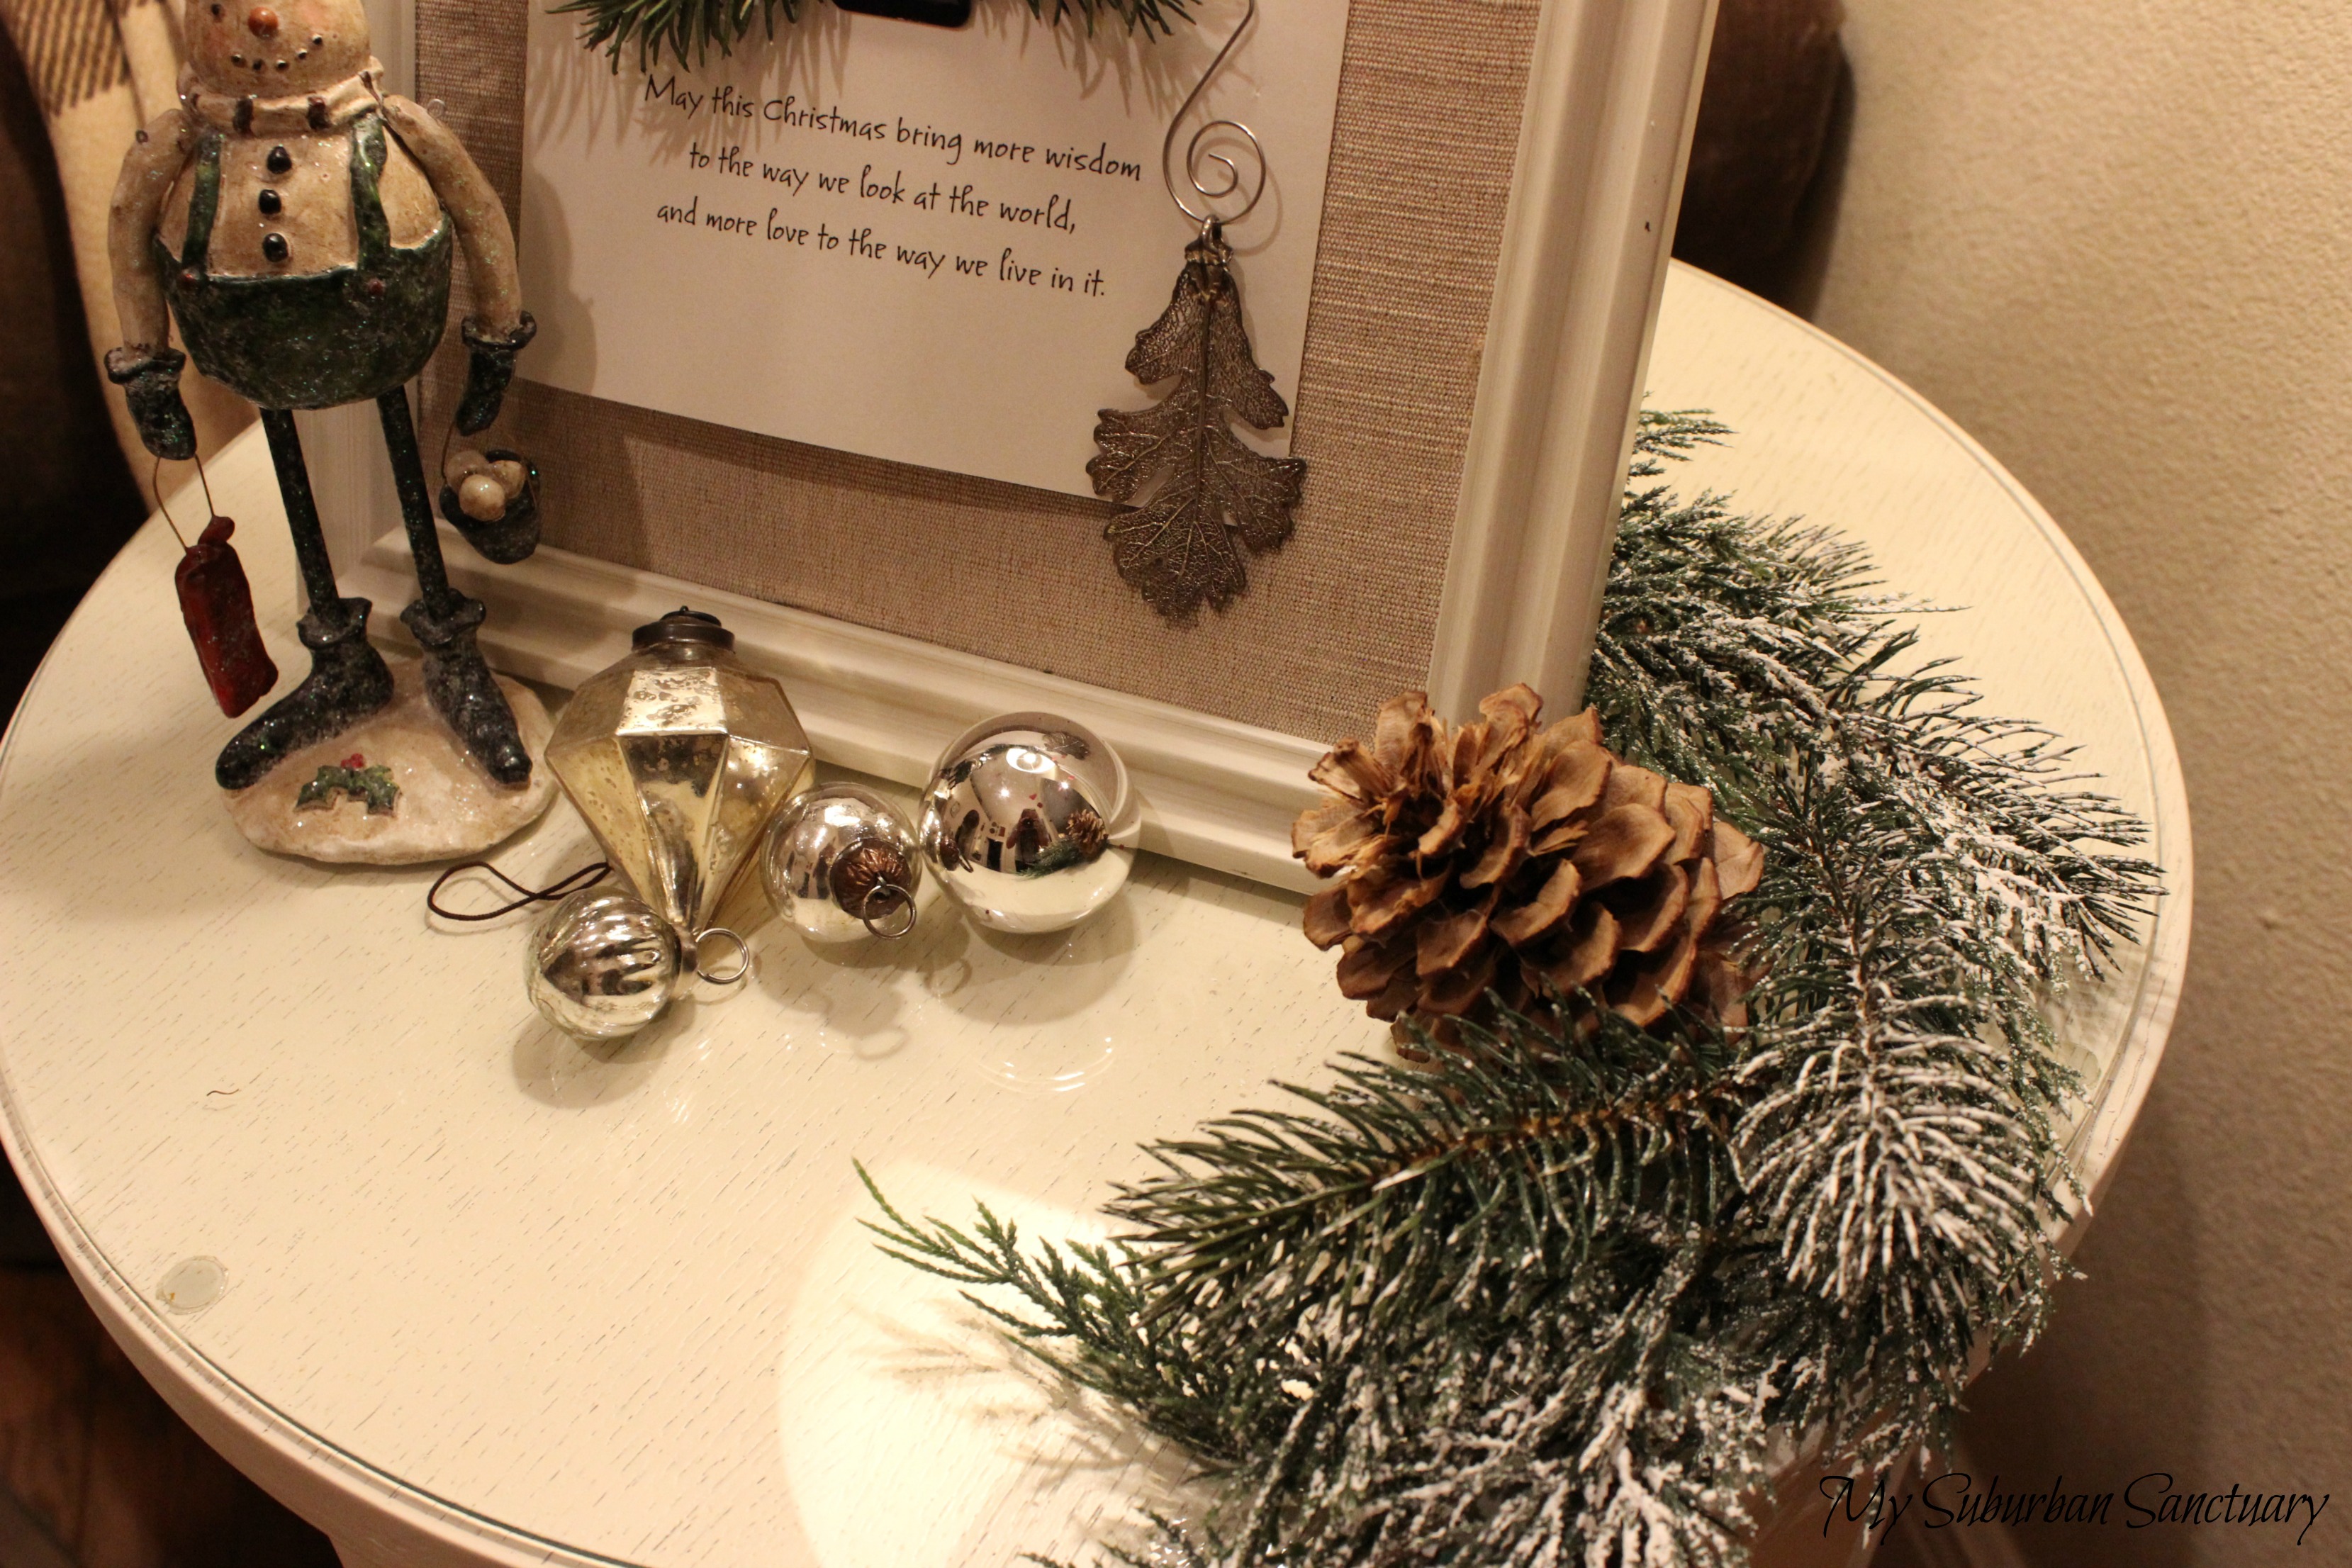
I did, however, keep my practice piece. It’s draped around a frame on a table. It looks lovely.  Mr. B is forbidden to touch it. Or to breathe on it. We tiptoe past it so as not to stir a breeze. I have yellow caution tape up to protect the area. Guests are allowed to admire it. From a distance. I am not cleaning any more drywall dust. But I have gently flocked greenery on that table.

img_6415
THE PRACTICE PIECE LOOKING MIGHTY SPIFFY

img_6439


Yesterday I bought new flocked garland. Sometimes new is just better. This is one of those times. It’s thick  and new and beautiful and is gracing the the dining room window. Best part? It only sheds a little. Very little. The flakes are big, like giant snowflakes. I can live with that. I bought an extra bundle for the living room for next Christmas. I WILL have flocked greenery for Christmas 2017. The can of spray drywall patching mud?  Is in the chemical recycling bin. Where it’s waiting to gather together with some of its closest friends on recycling day. I wish it well.

new-garland
MY LOVELY NEW FLOCKED GARLAND

Save

Save

Save

Save

Save

Save

Save

Save

Update Your Old Ornaments

Update Your Old Ornaments


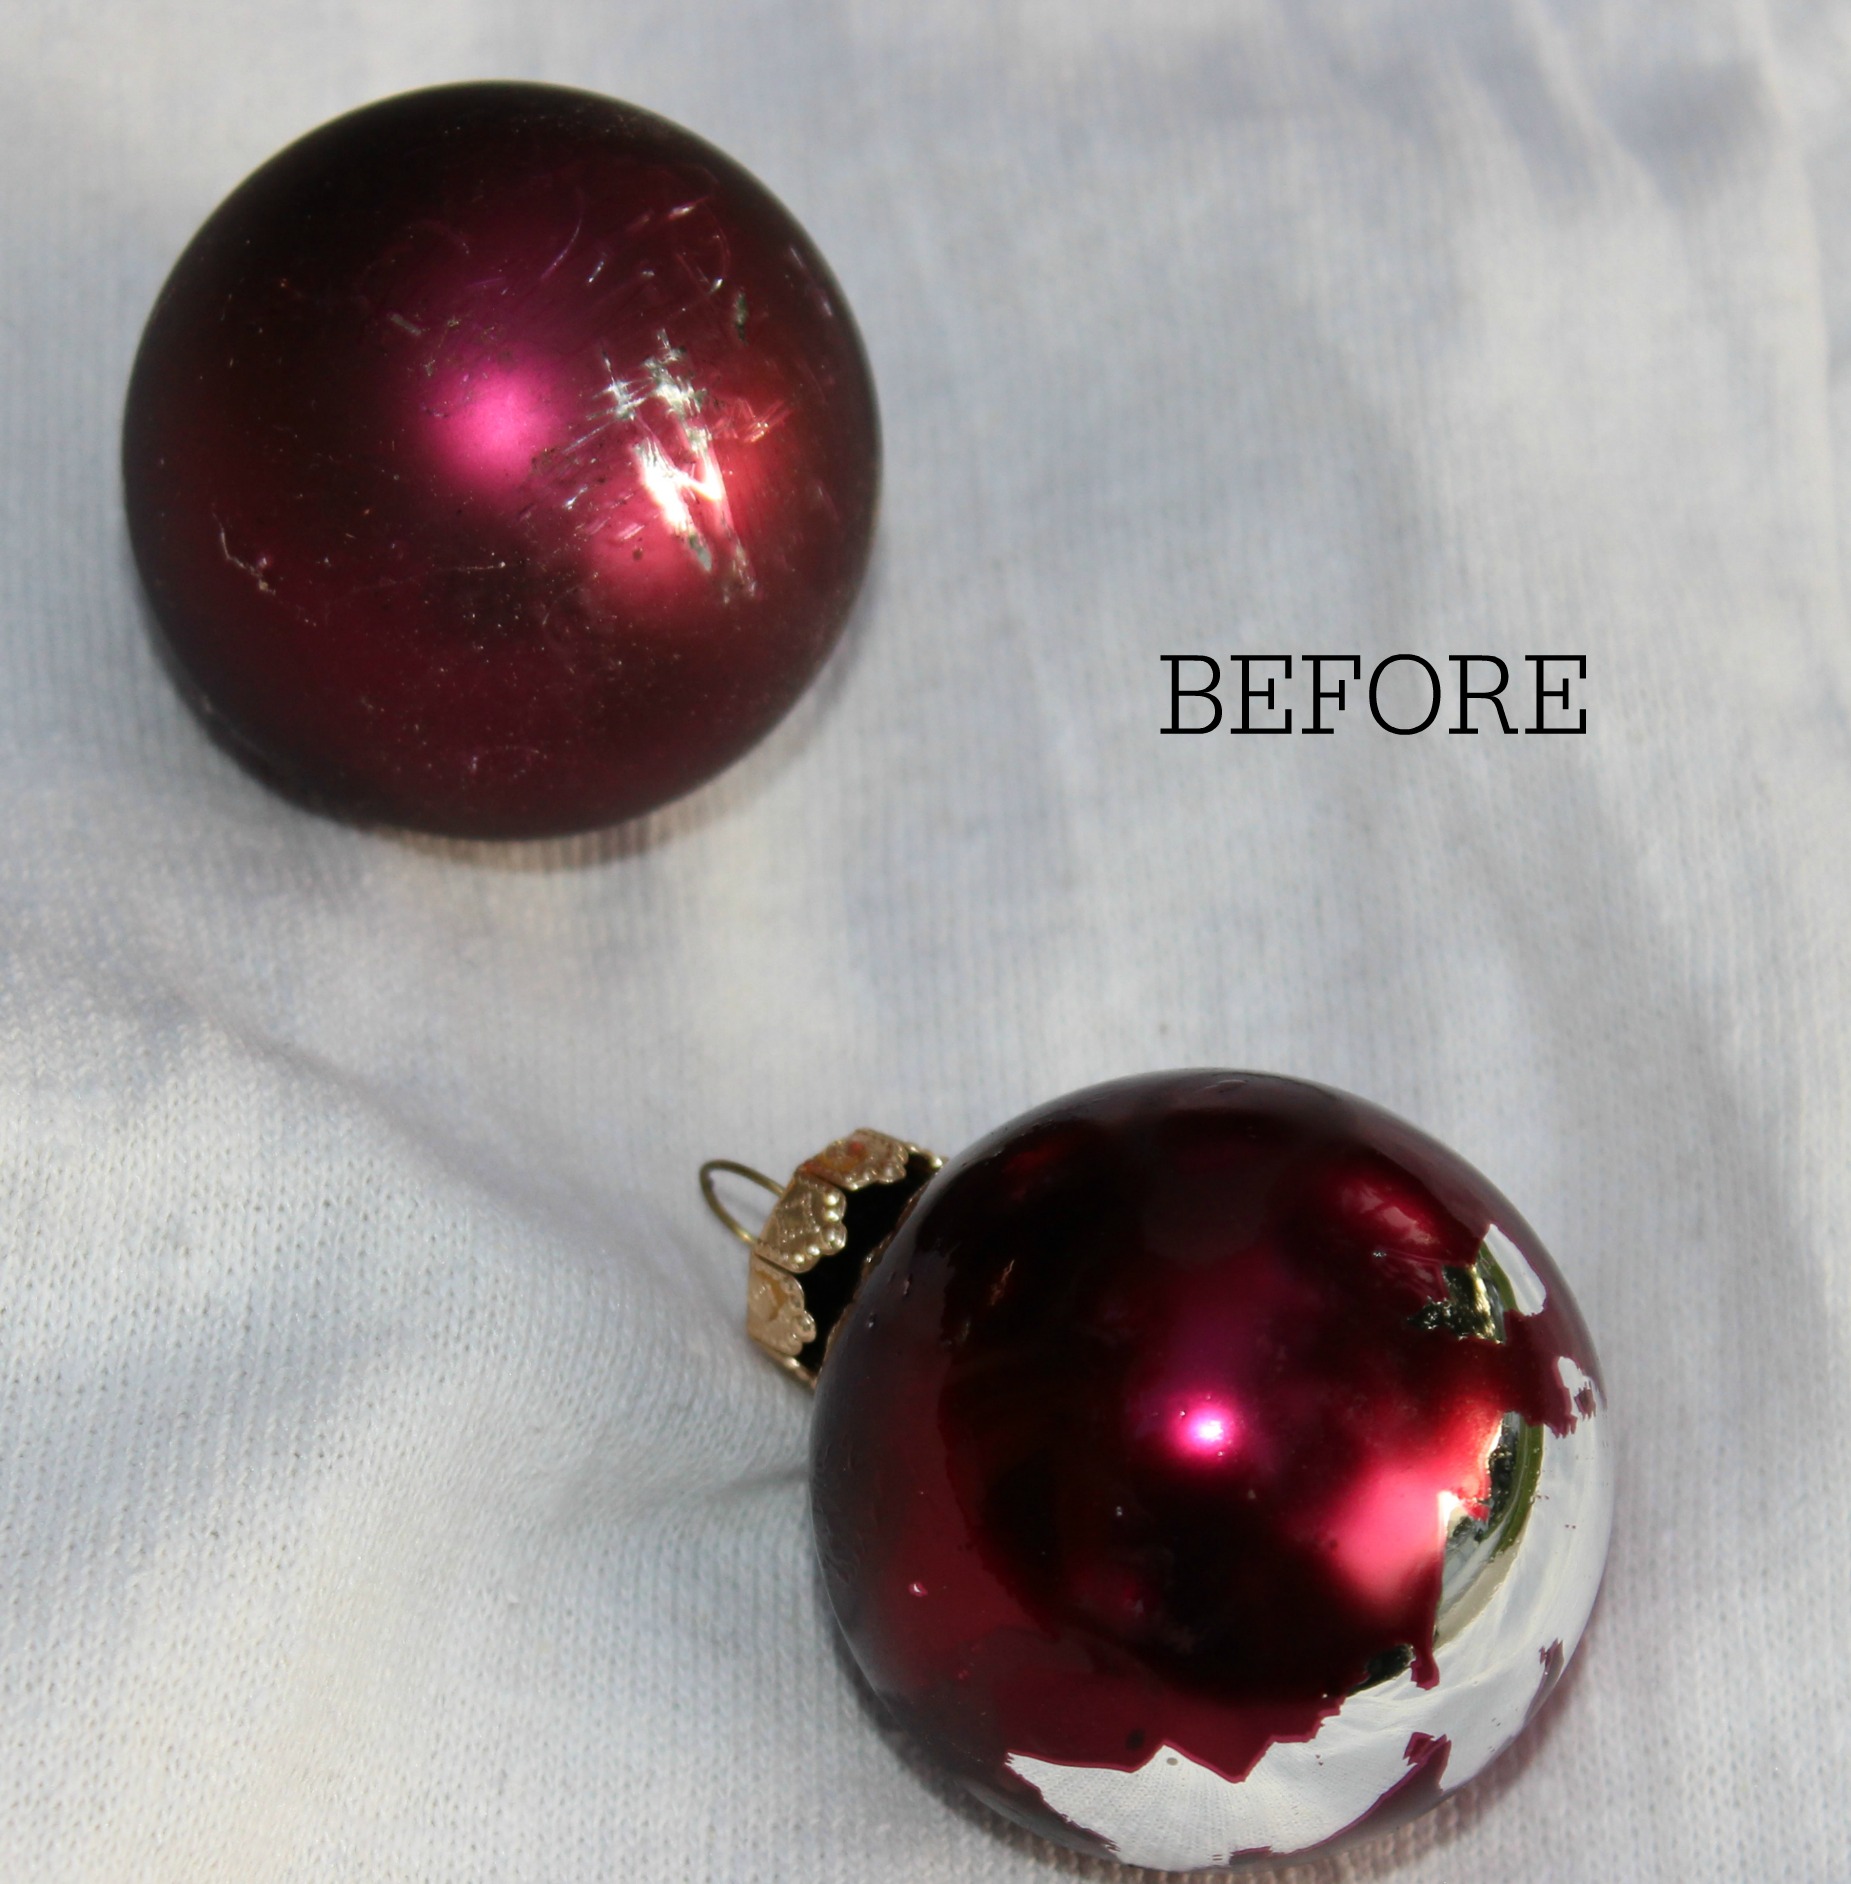
So sorry I’ve been MIA. Food poisoning. ’nuff said. But I’m back, so here’s the latest in the Christmas posts for this year. If you have ornies (that’s ornaments for the unenlightened) that have seen better days, here is an easy way to update them. This works on older glass (not plastic) ornaments, those made prior to 2005. (I just picked that date arbitrarily.) I’ll get to that point in a minute. But, yes, this is easy, peasy.  Remove the tops and wash them with hot soapy water! Who knew?? Well, now YOU do. Hold your ornies by the stem UPSIDE DOWN under hottish water (as hot as you can stand). I usually squirt a bit of dishwashing soap on them (sometimes I don’t even do that). Rub gently and the old paint should slide right off. You may have to use your thumb nail on stubborn spots but really it’s that simple. If you find that the ornies are slipping from your fingers and smashing to smithereens in the sink, try wearing latex gloves.  WARNING: Do not get water inside the ornament. It will remove the “silvering” from the inside and you’ll be left with dingy clear ornies, not exactly the “updated” look you’ll love. After washing just dry with a soft cloth and put the top back on. You’ll be left with silver ornies that have little speckles of the old paint or even better, with some areas of discoloration that lend that old mercury glass look. Of course the ones pictured here in the “after” shot don’t have those discolorations. sigh. But the next batch probably will. After this post is published.


ornies-2


If you don’t like the look of the  hanger top, you can paint it by dabbing gray or brown craft paint on it to age it. I usually don’t bother with it, but some may find it more appealing to age the top as well. That’s it. Now back to that arbitrary date. I’ve found that ornaments made within the last 5 or 6 years may scratch a bit but the finish will.not.wash.off. For those, back when I needed silver ornaments and was really determined, I used acetone or once  even paint stripper. But those products are stinky and the process is messy. So I don’t. Because really, I’m lazy and I don’t like stinky. Plus I don’t want to wear a mask and rubber gloves just to update an ornament. I send those to Goodwill cause you know, they don’t fit my “look” anymore and there are lots of people who don’t care about a few scratches. They use them in other ways, like those wreaths with a bazillian old ornies glued on. Just turn the scratchy part to the back.  I now own boxes of updated “old” silver ornaments. I may never have to buy new ones again.

Save

Save

Save

Save

Save

Get each blog post delivered to your inbox! I promise I won't spam you.

Recent Comments
Follow Us